
This project teaches you how to make your own mazes that’ll stump everyone who tries them! Follow the steps and see who can solve your maze!
Difficulty
- Medium – Grades 4-7th
- Easy – Grades 1-3rd
Materials
- Graph Paper (if you don’t have some, print it from the computer, or use a ruler and pencil to make some on regular paper!)
- Pencil
- Pen
- Markers or crayons (to decorate)
- A family member (to solve the maze once it’s done!)
Method
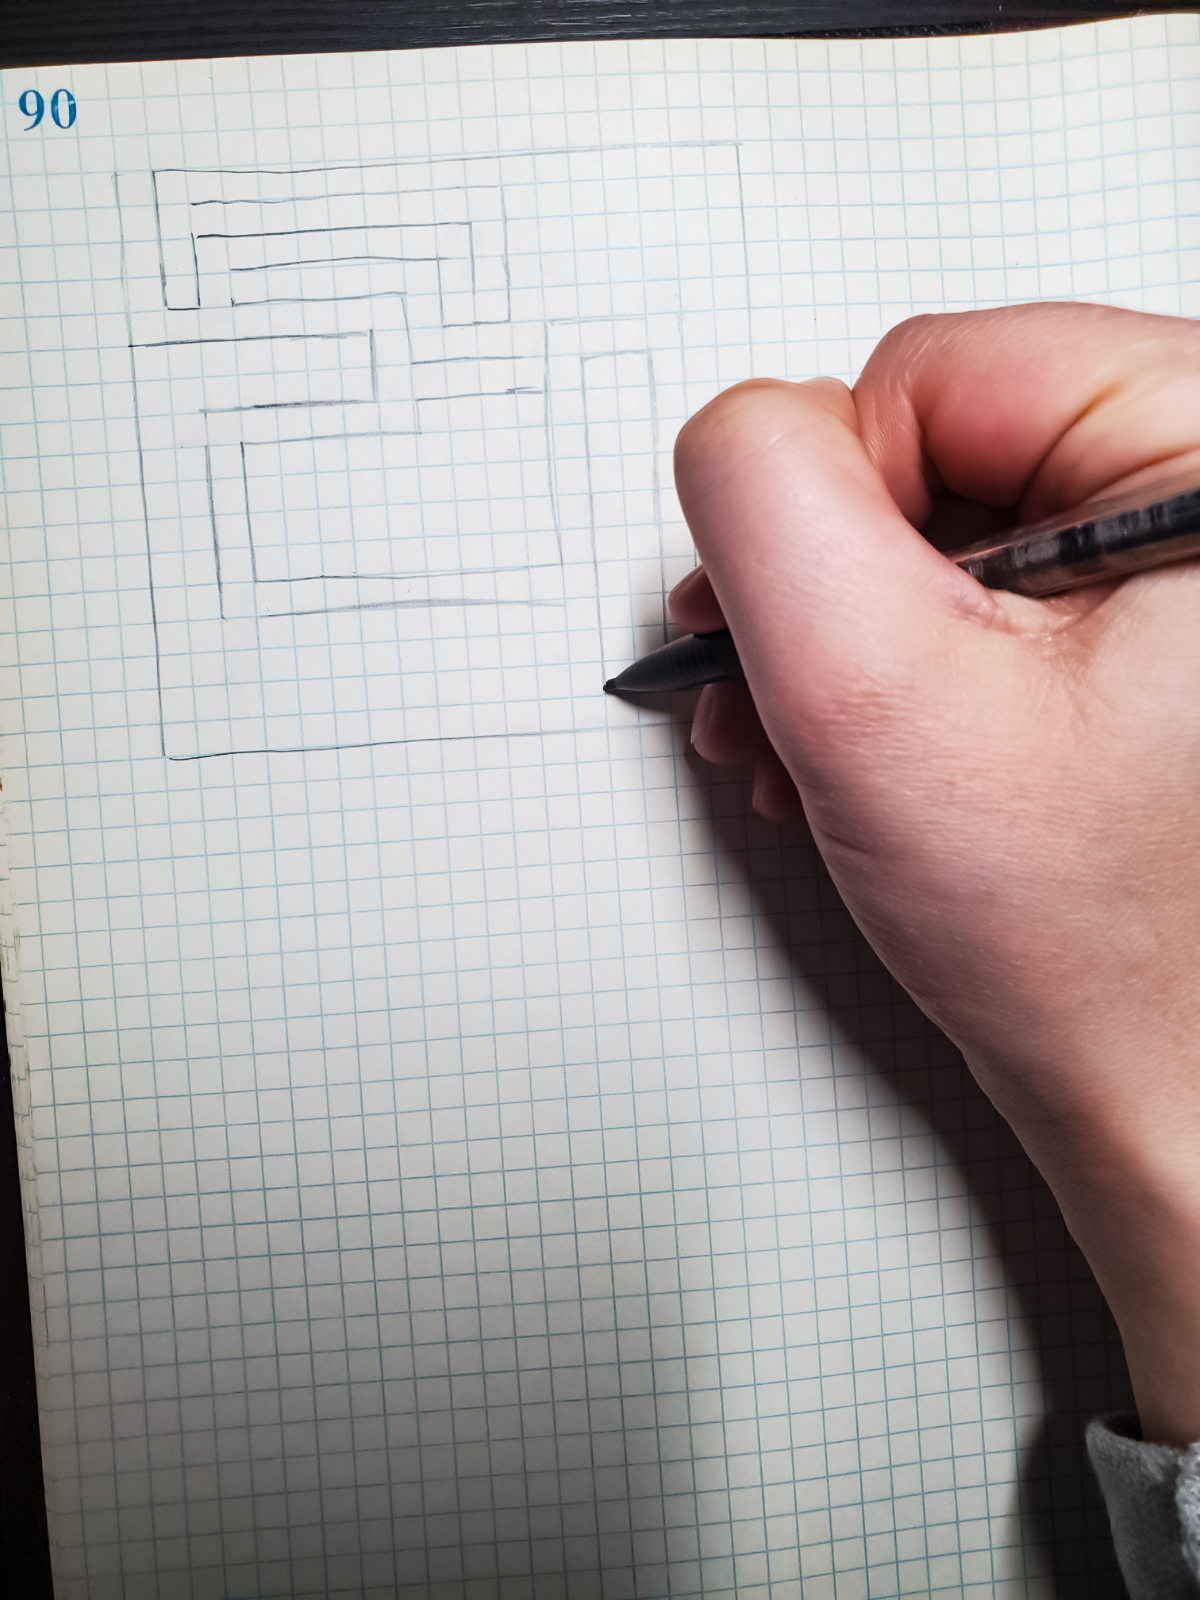
Step 1
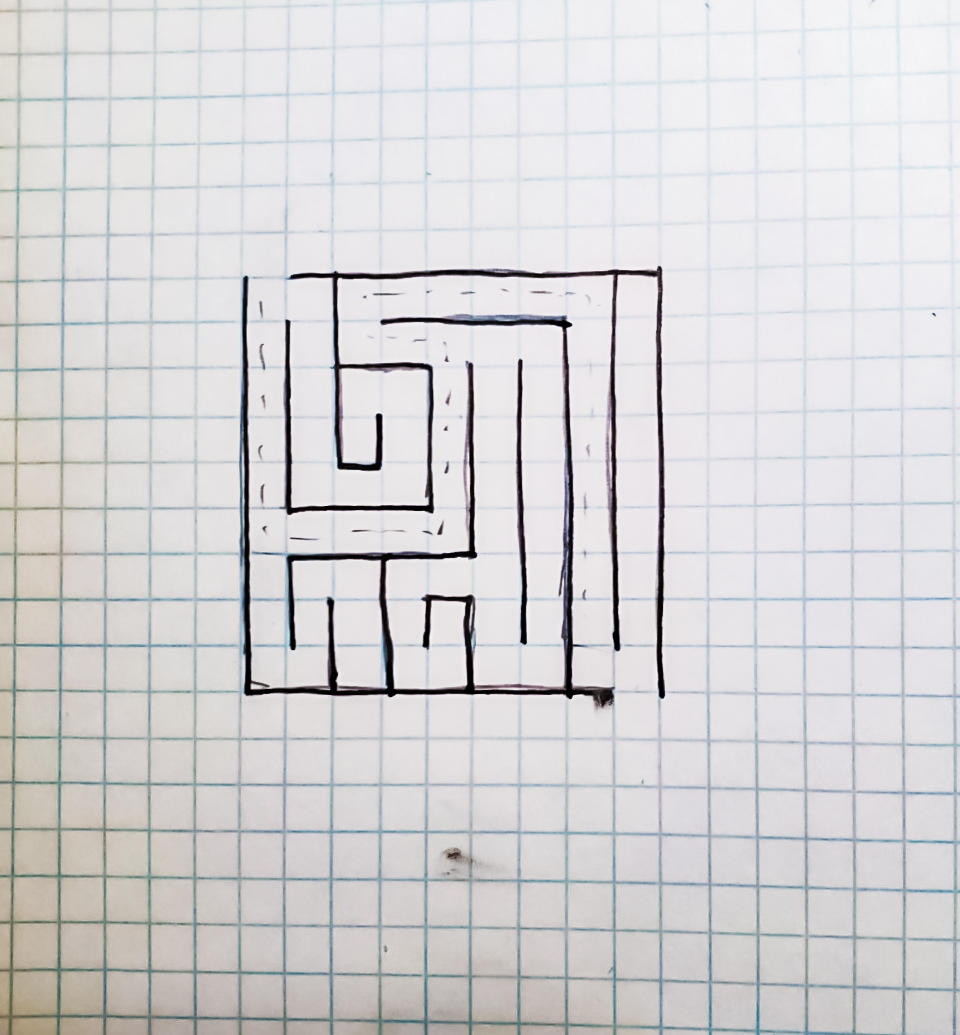
- Draw a square about 18-20 spaces wide with two sections open at the top and bottom (Easy Level – for younger kids, do 8-10 spaces wide. See bottom for what that looks like)
- Draw a line that will be the solution to the maze

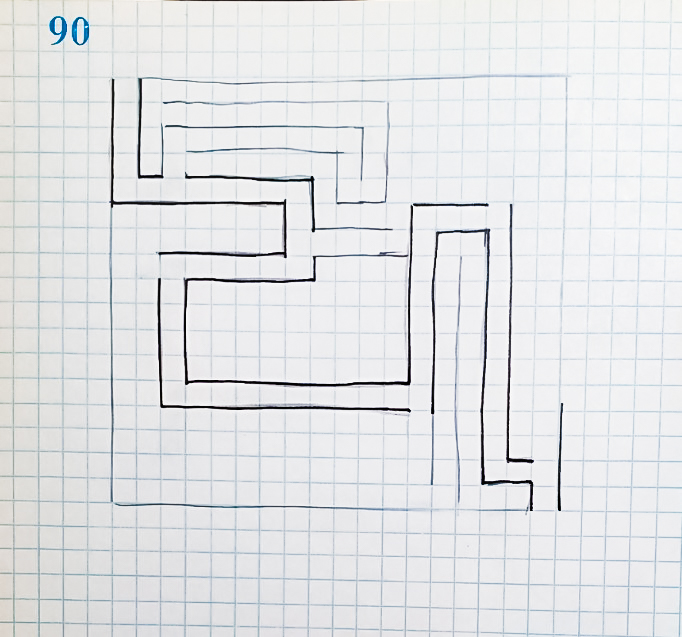
Step 2
Make a line one square away from the solution line so you have a path that goes all the way to the end of the maze

Step 3
- Erase some section of the grid at random places along the path to add some gaps in your solution
- Use these as openings for false paths.

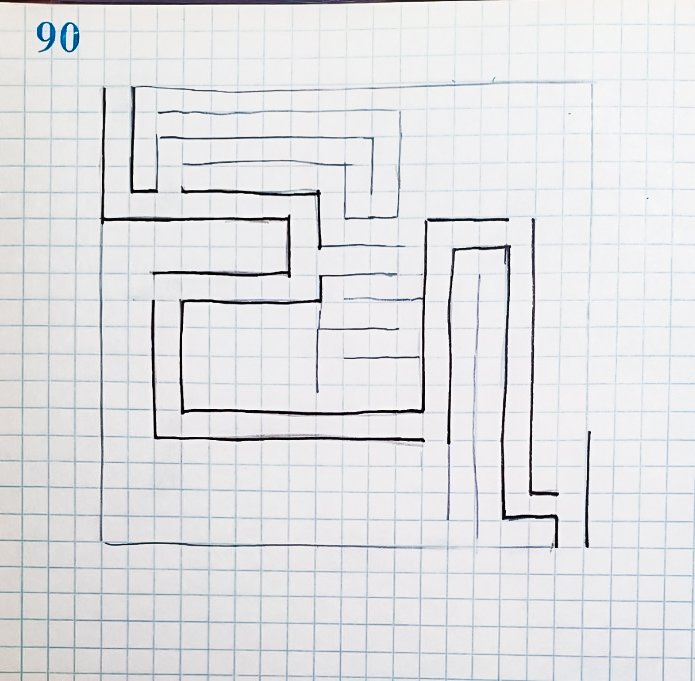
Step 4
- Use a black marker to outline the solution to your maze before you add to many false paths
- Or, use a faint dotted line on the solution so you remember what it is.
Step 5
- Fill in all the extra area with false paths. Make sure you really confuse people! Twist and turn the paths every which way
- Just make sure that none of the paths actually lead to the solution.
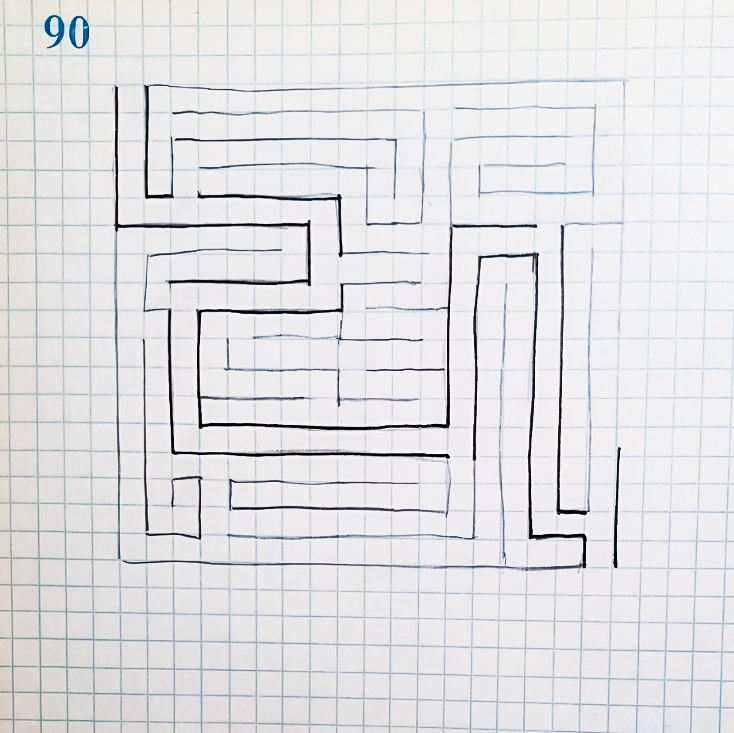
Step 6
- Darken all the lines of the maze with a black pen or marker.
- Make sure there’s a dotted line so you remember the solution to your maze
- Take a picture, then erase the line!

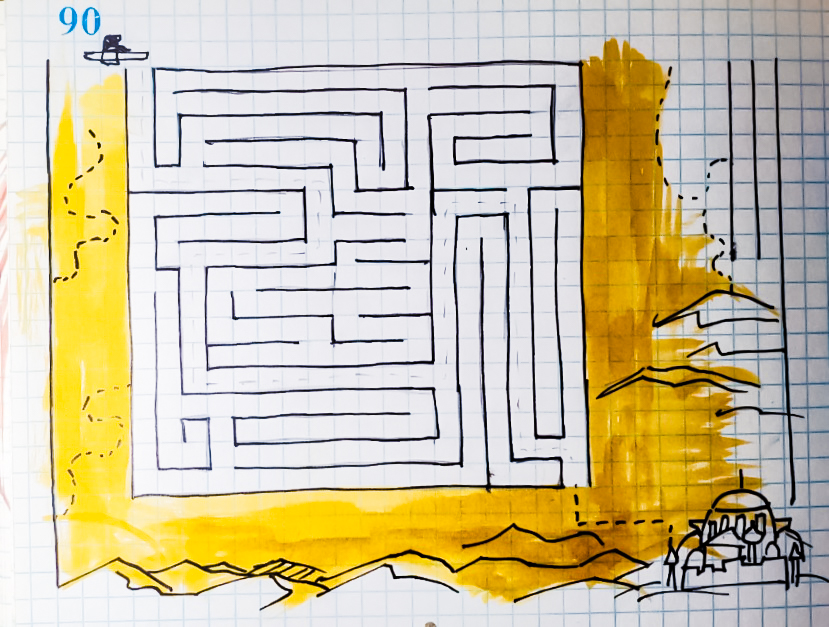
Step 7
Design a theme for your maze! This one is a trek through a desert with a hover-speeder.
Alternatives
- For beginners and younger kids, make the maze a bit smaller. Instead of 20 squares, use 8-10.

- For more advanced learners, consider using up the whole page, or multiple pages to make it even more complex

